System Wide Settings
Overview
This section guides users through configuring these system-wide settings to match the unique structure and needs of your institution, enabling seamless operation and management.
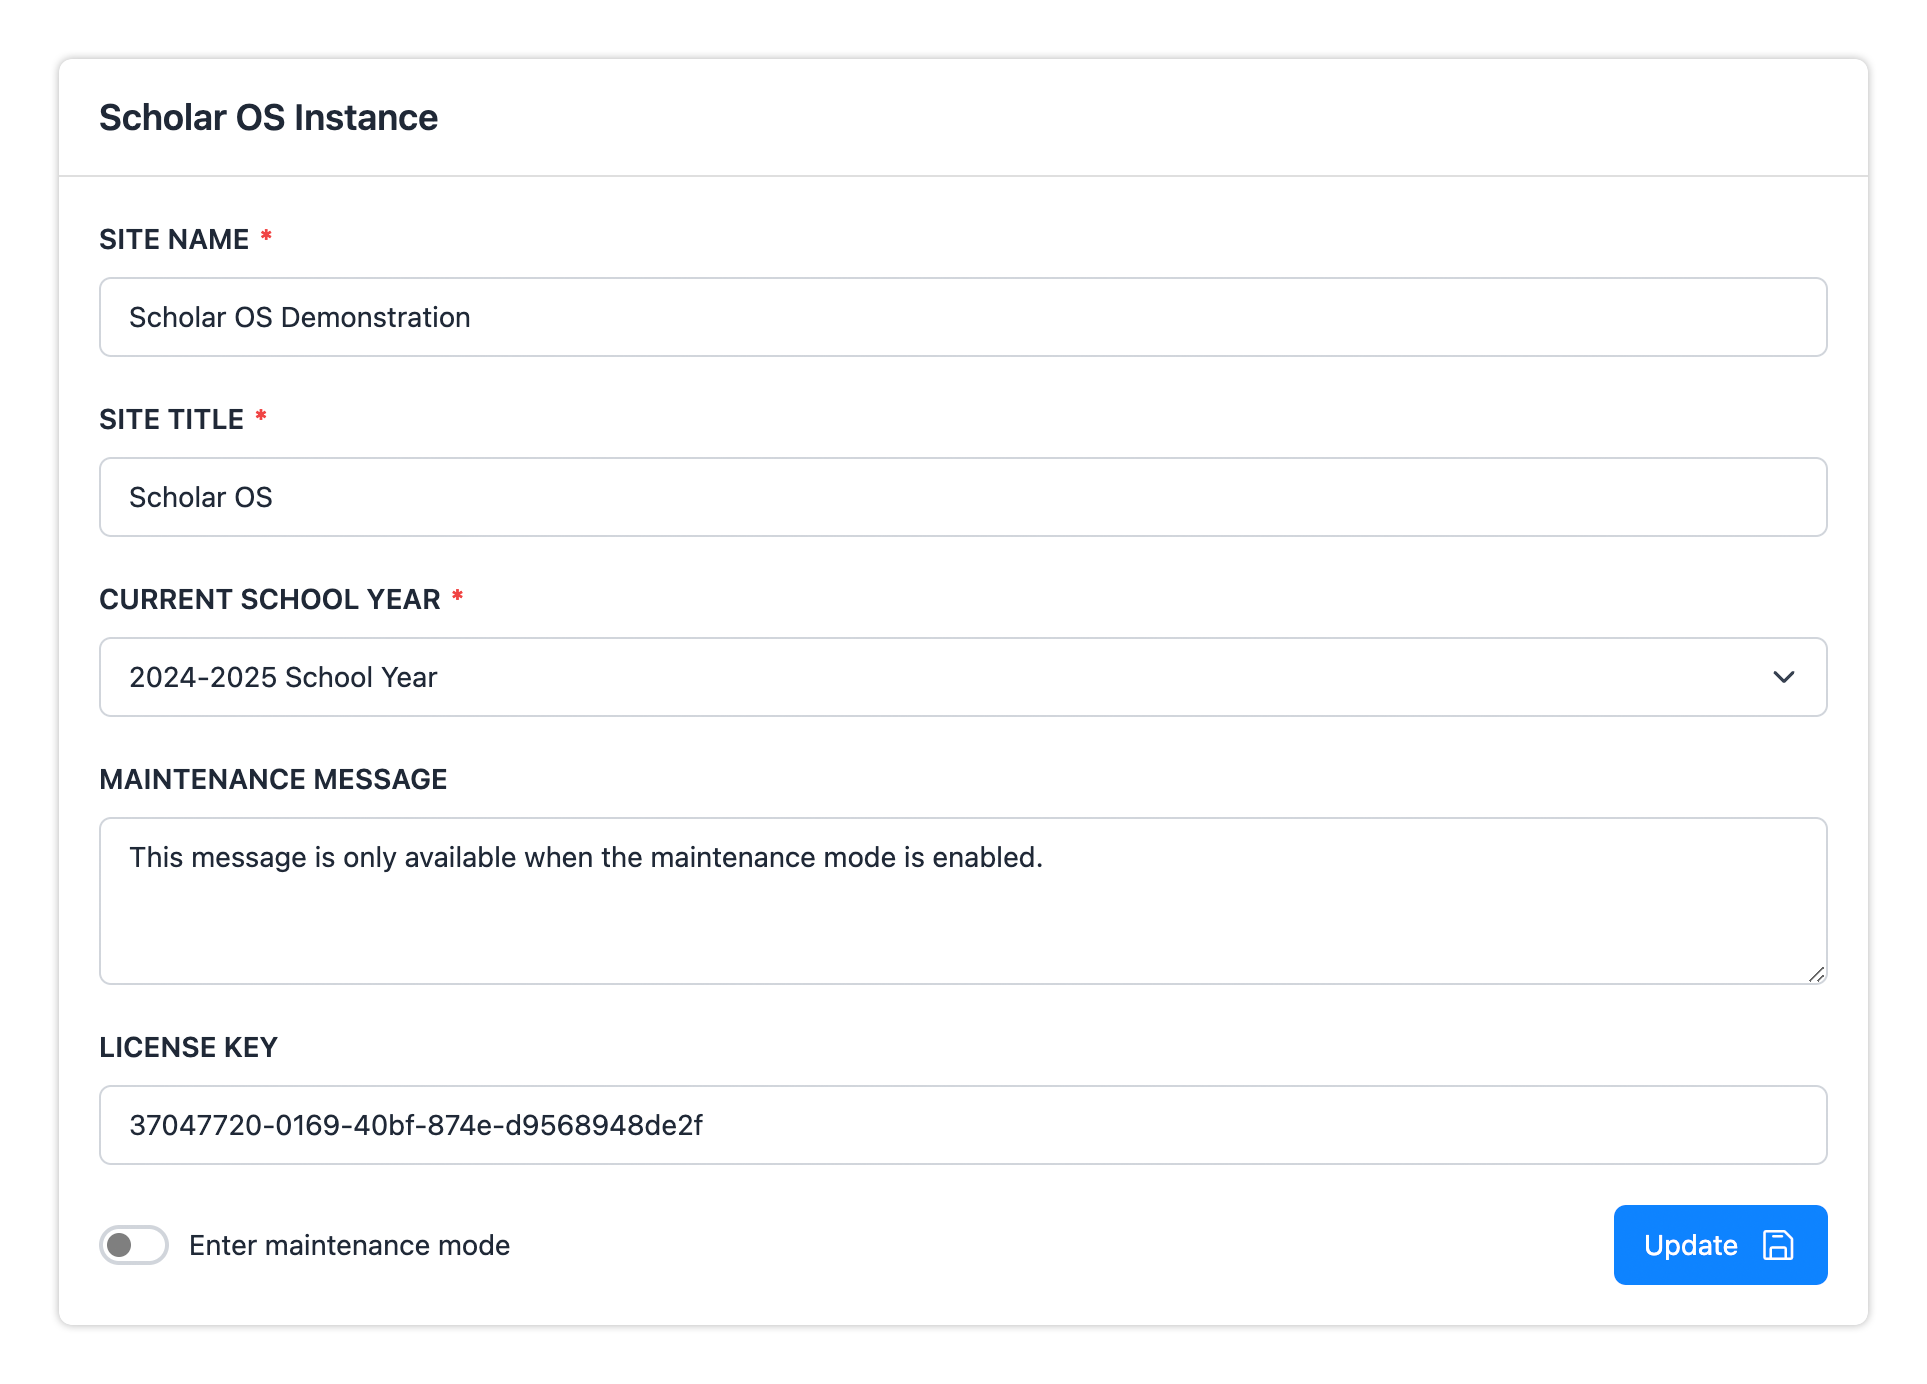
- Instance Settings - Define valid school entity information, review the authorization code, and check if the system has entered maintenance mode.
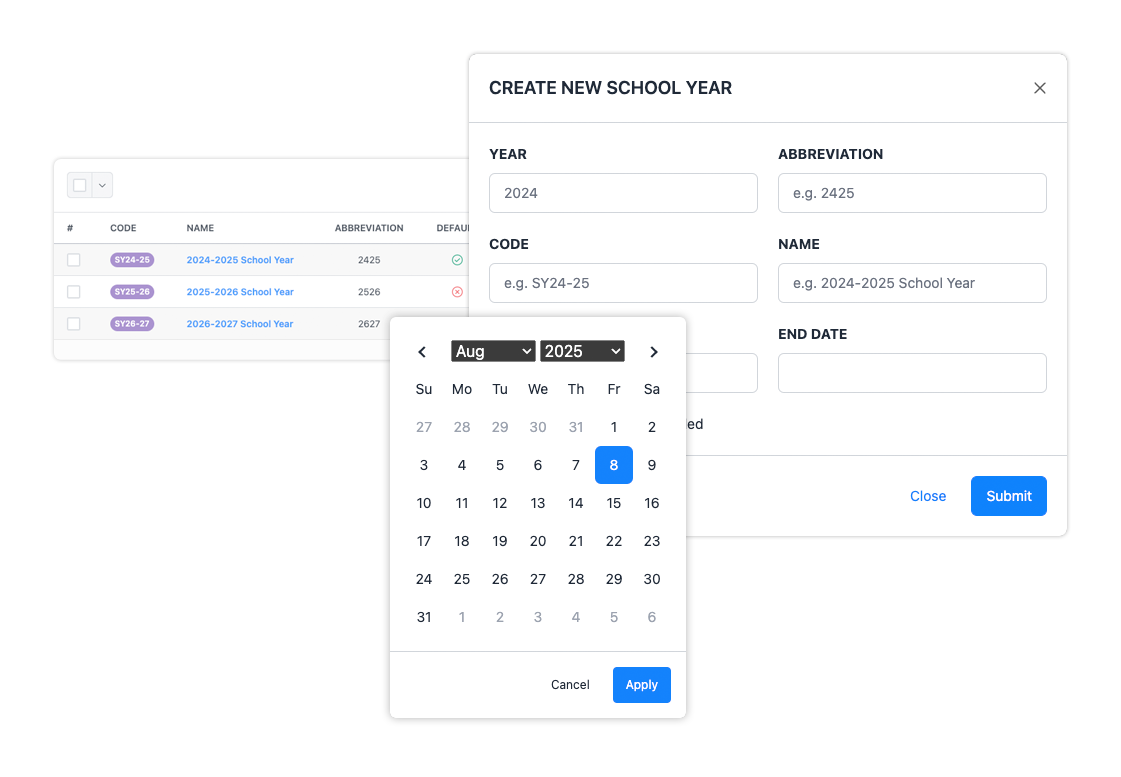
- School Year - Defines academic cycles, allowing for clear organization and planning of terms, events, and other time-based operations within the system.
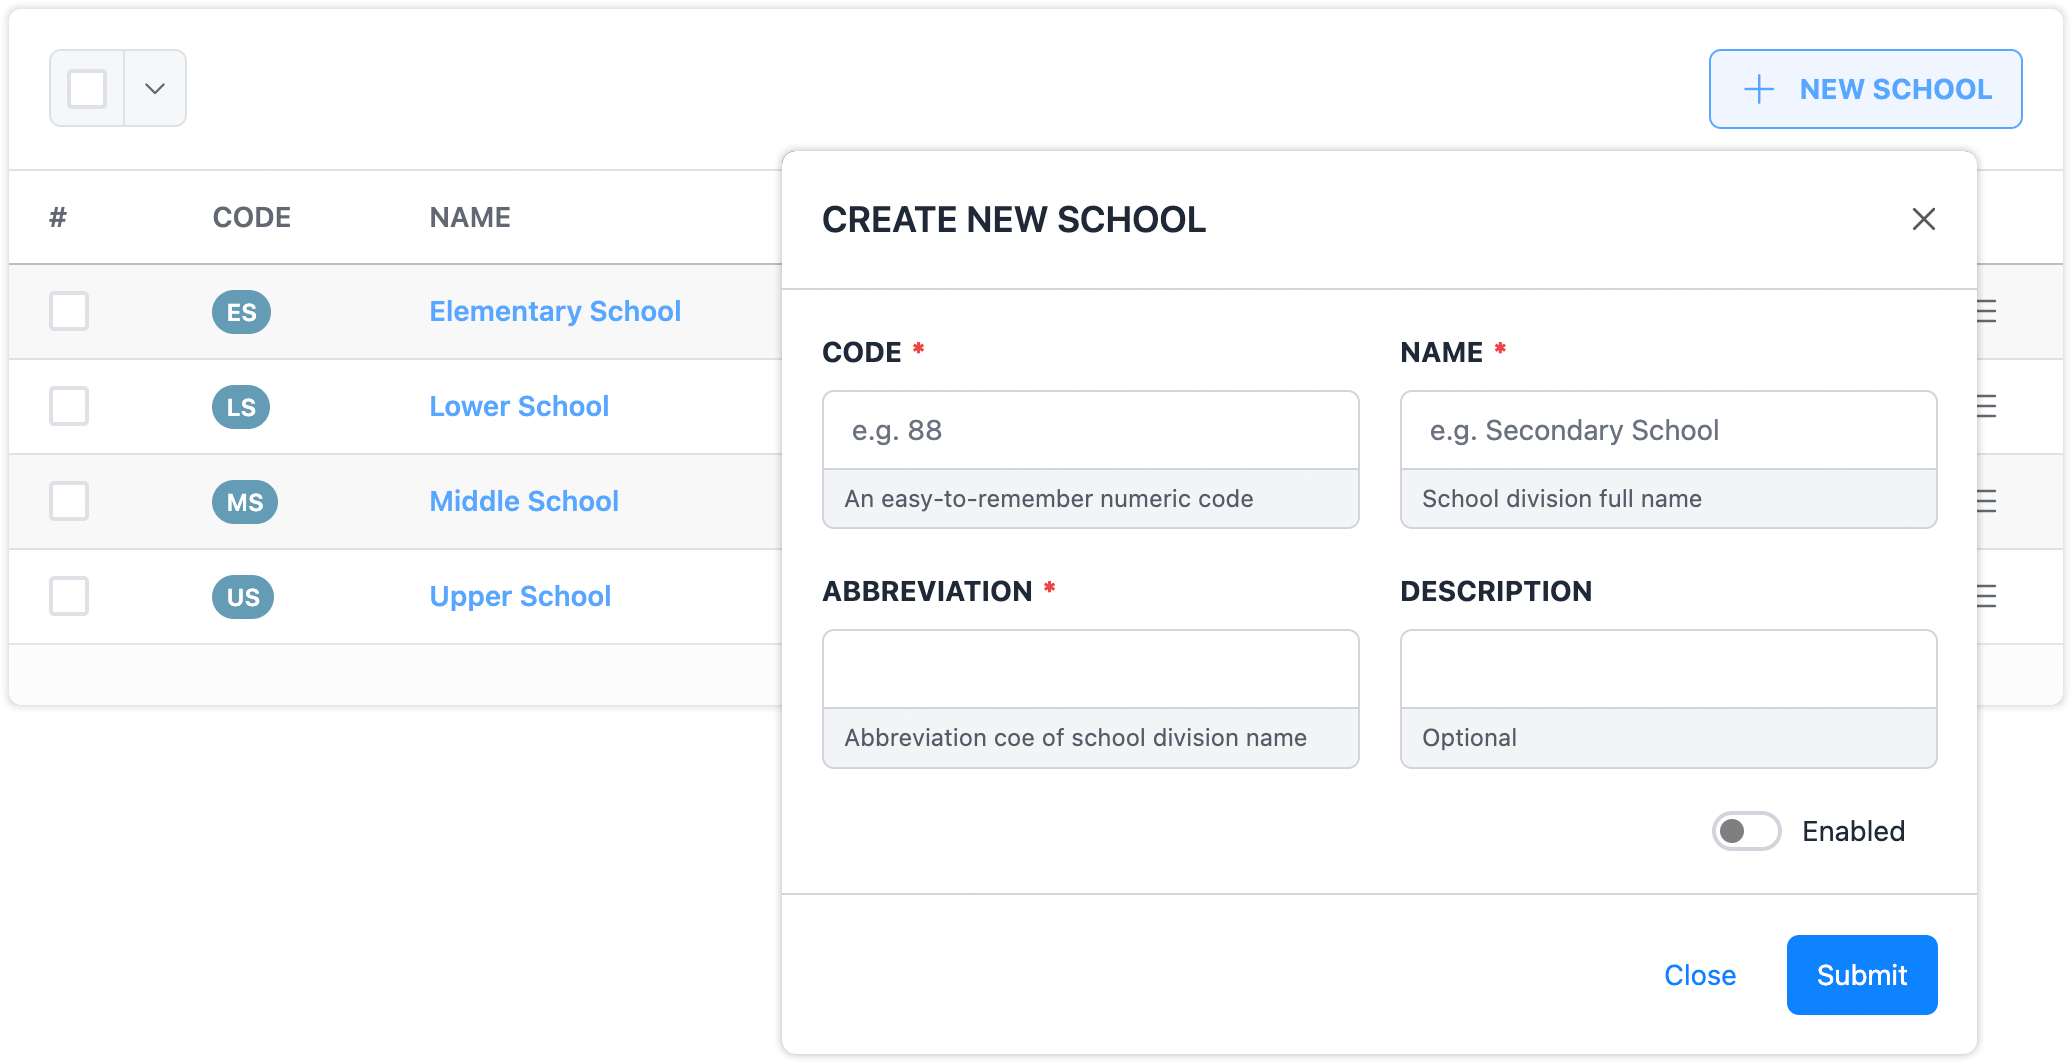
- School / Campus - Enables the classification of the school structure into divisions or sections, such as elementary, middle, and high school, supporting tailored management of each segment.
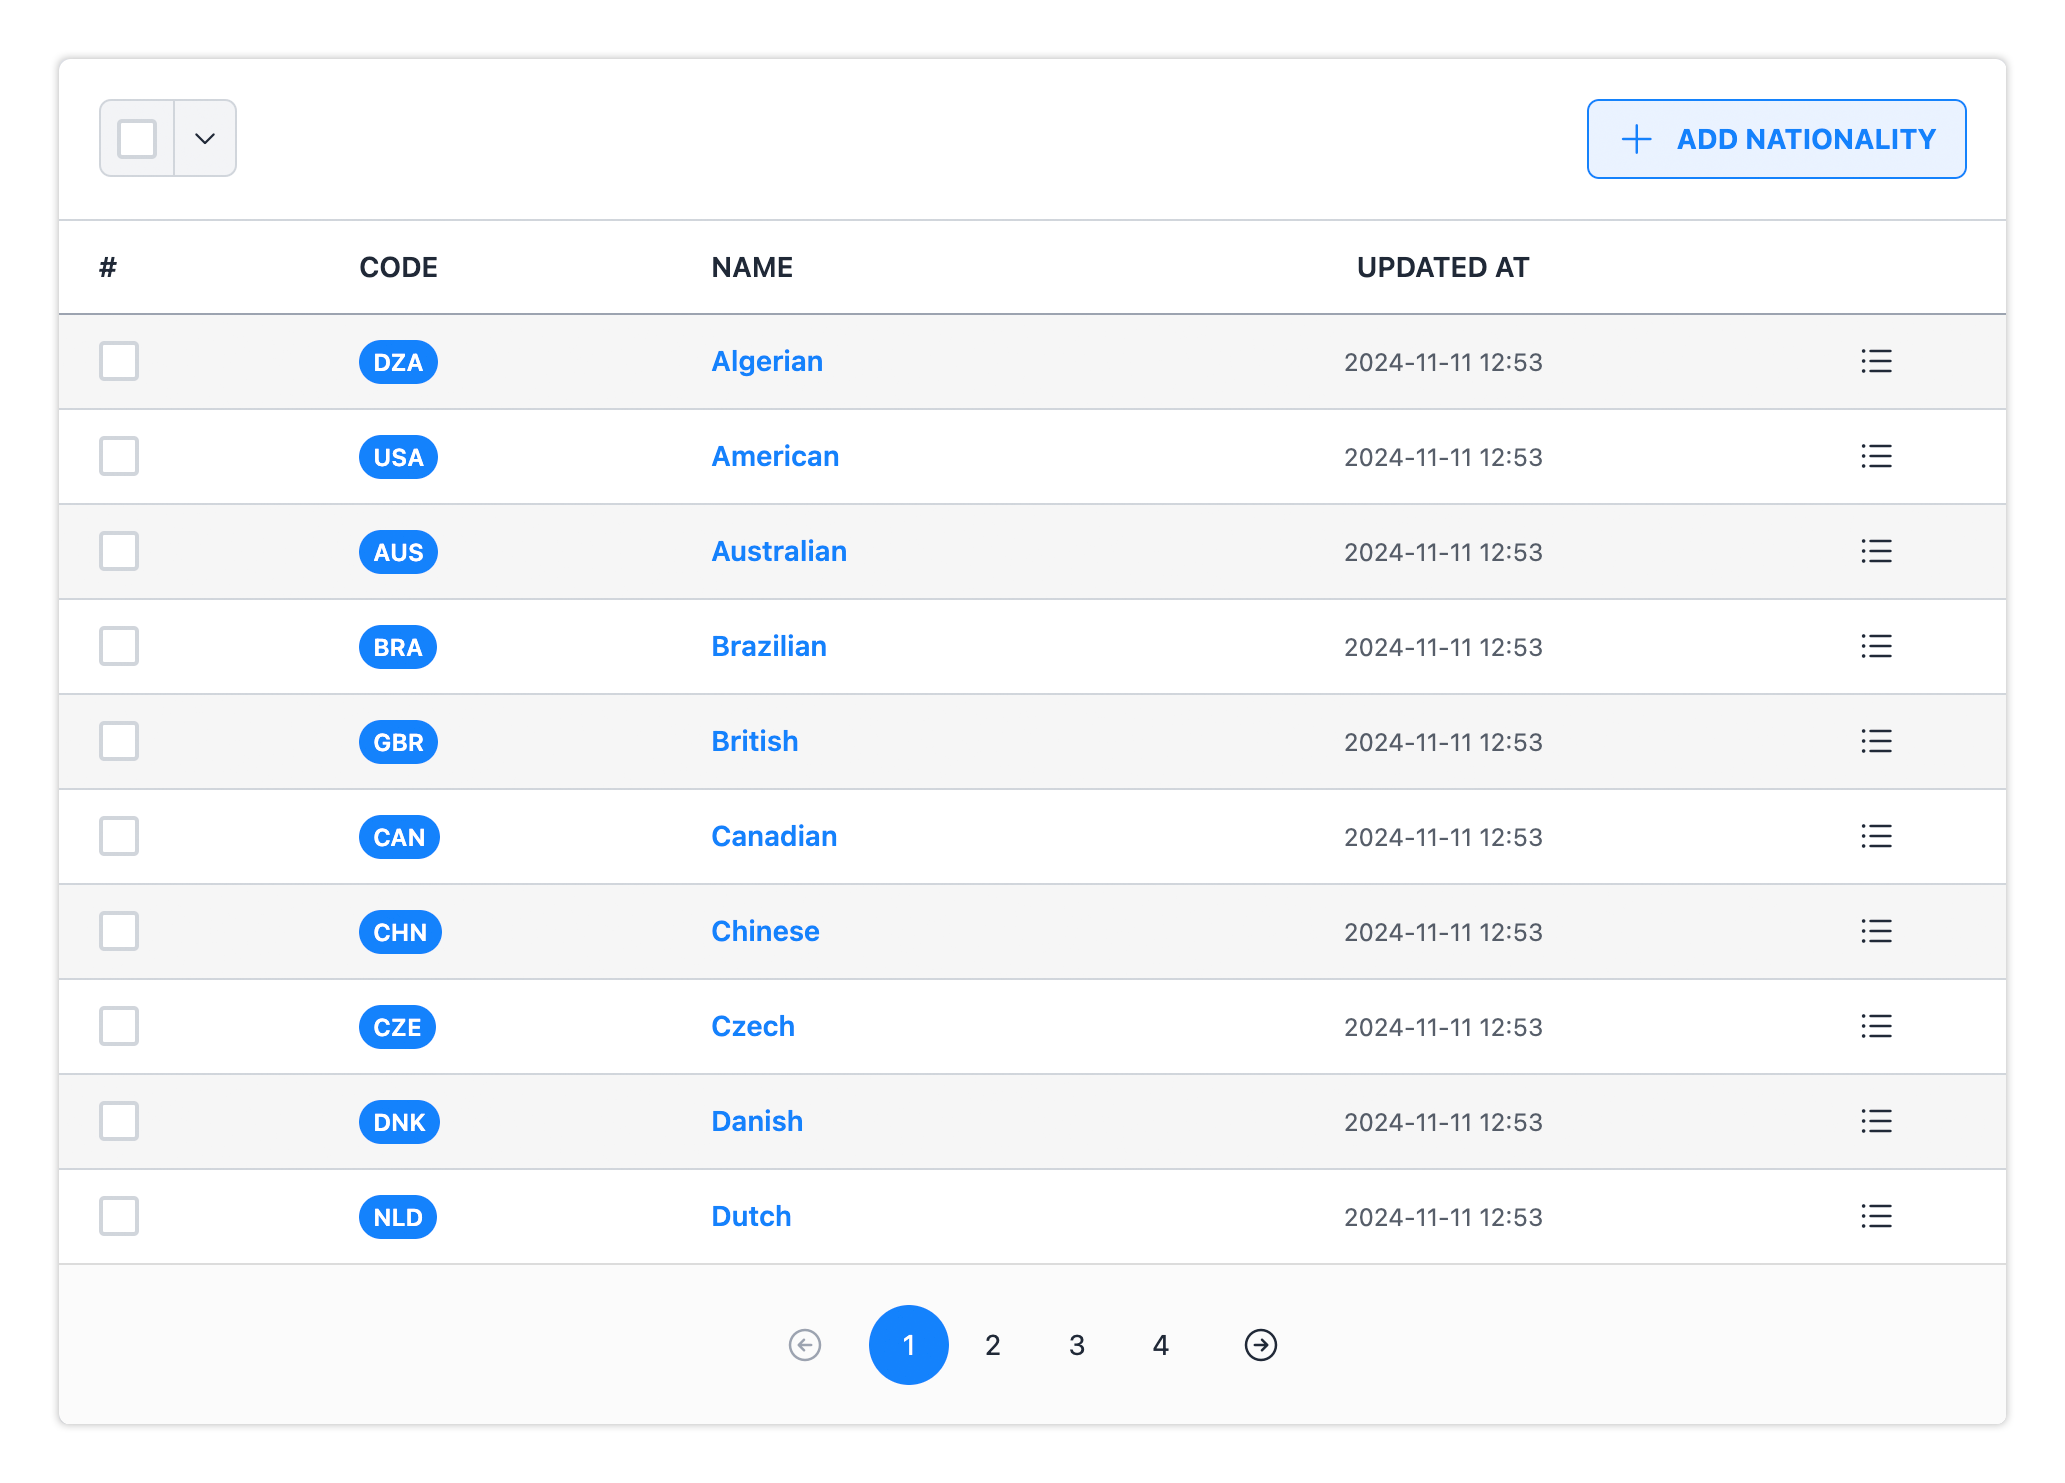
- Nationality - Defines nationality information for students, allowing for the tracking and reporting of student demographics.
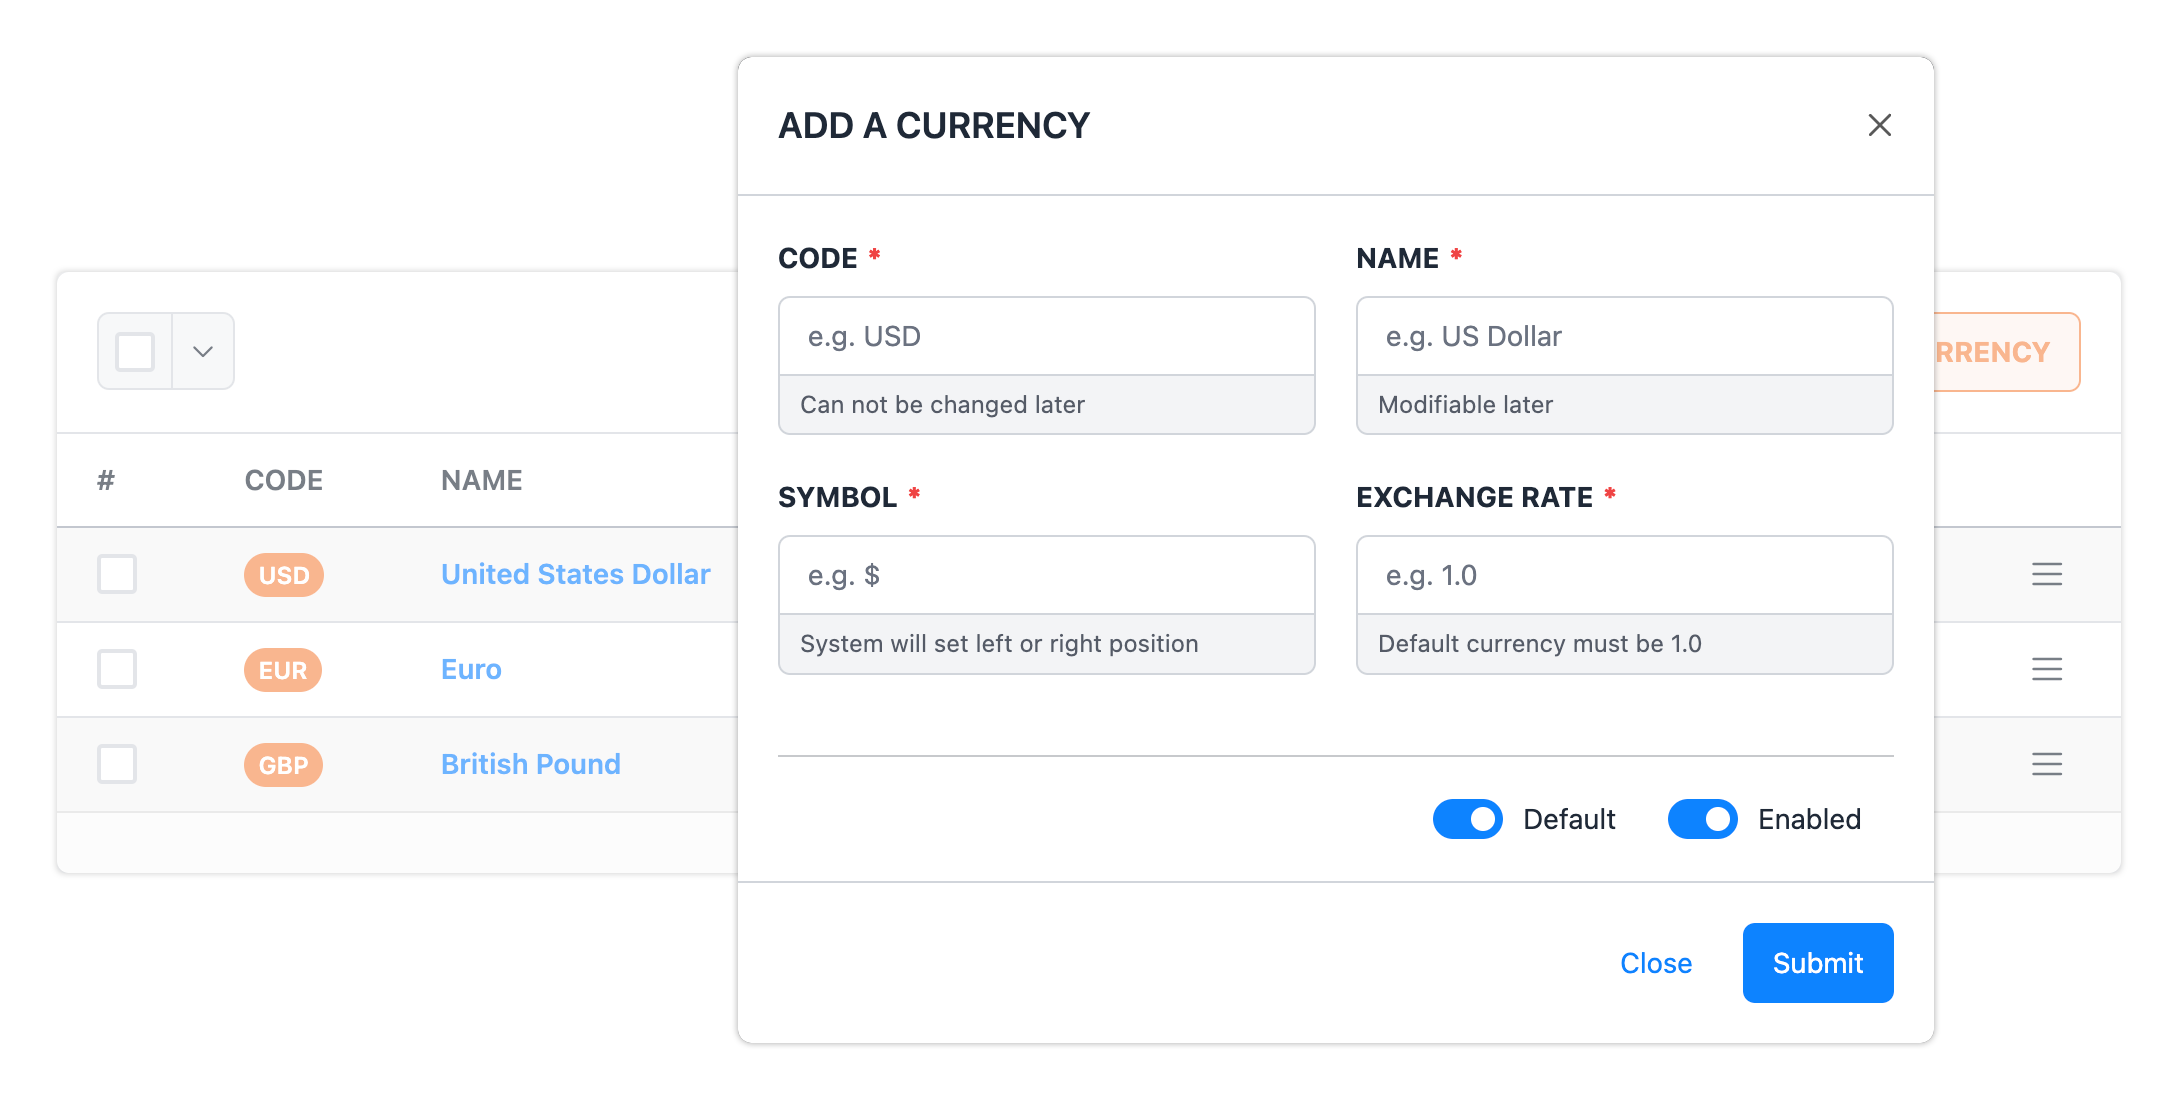
- Currency - Defines the currency used for all financial transactions, ensuring consistent budgeting, invoicing, and financial reporting across the platform.
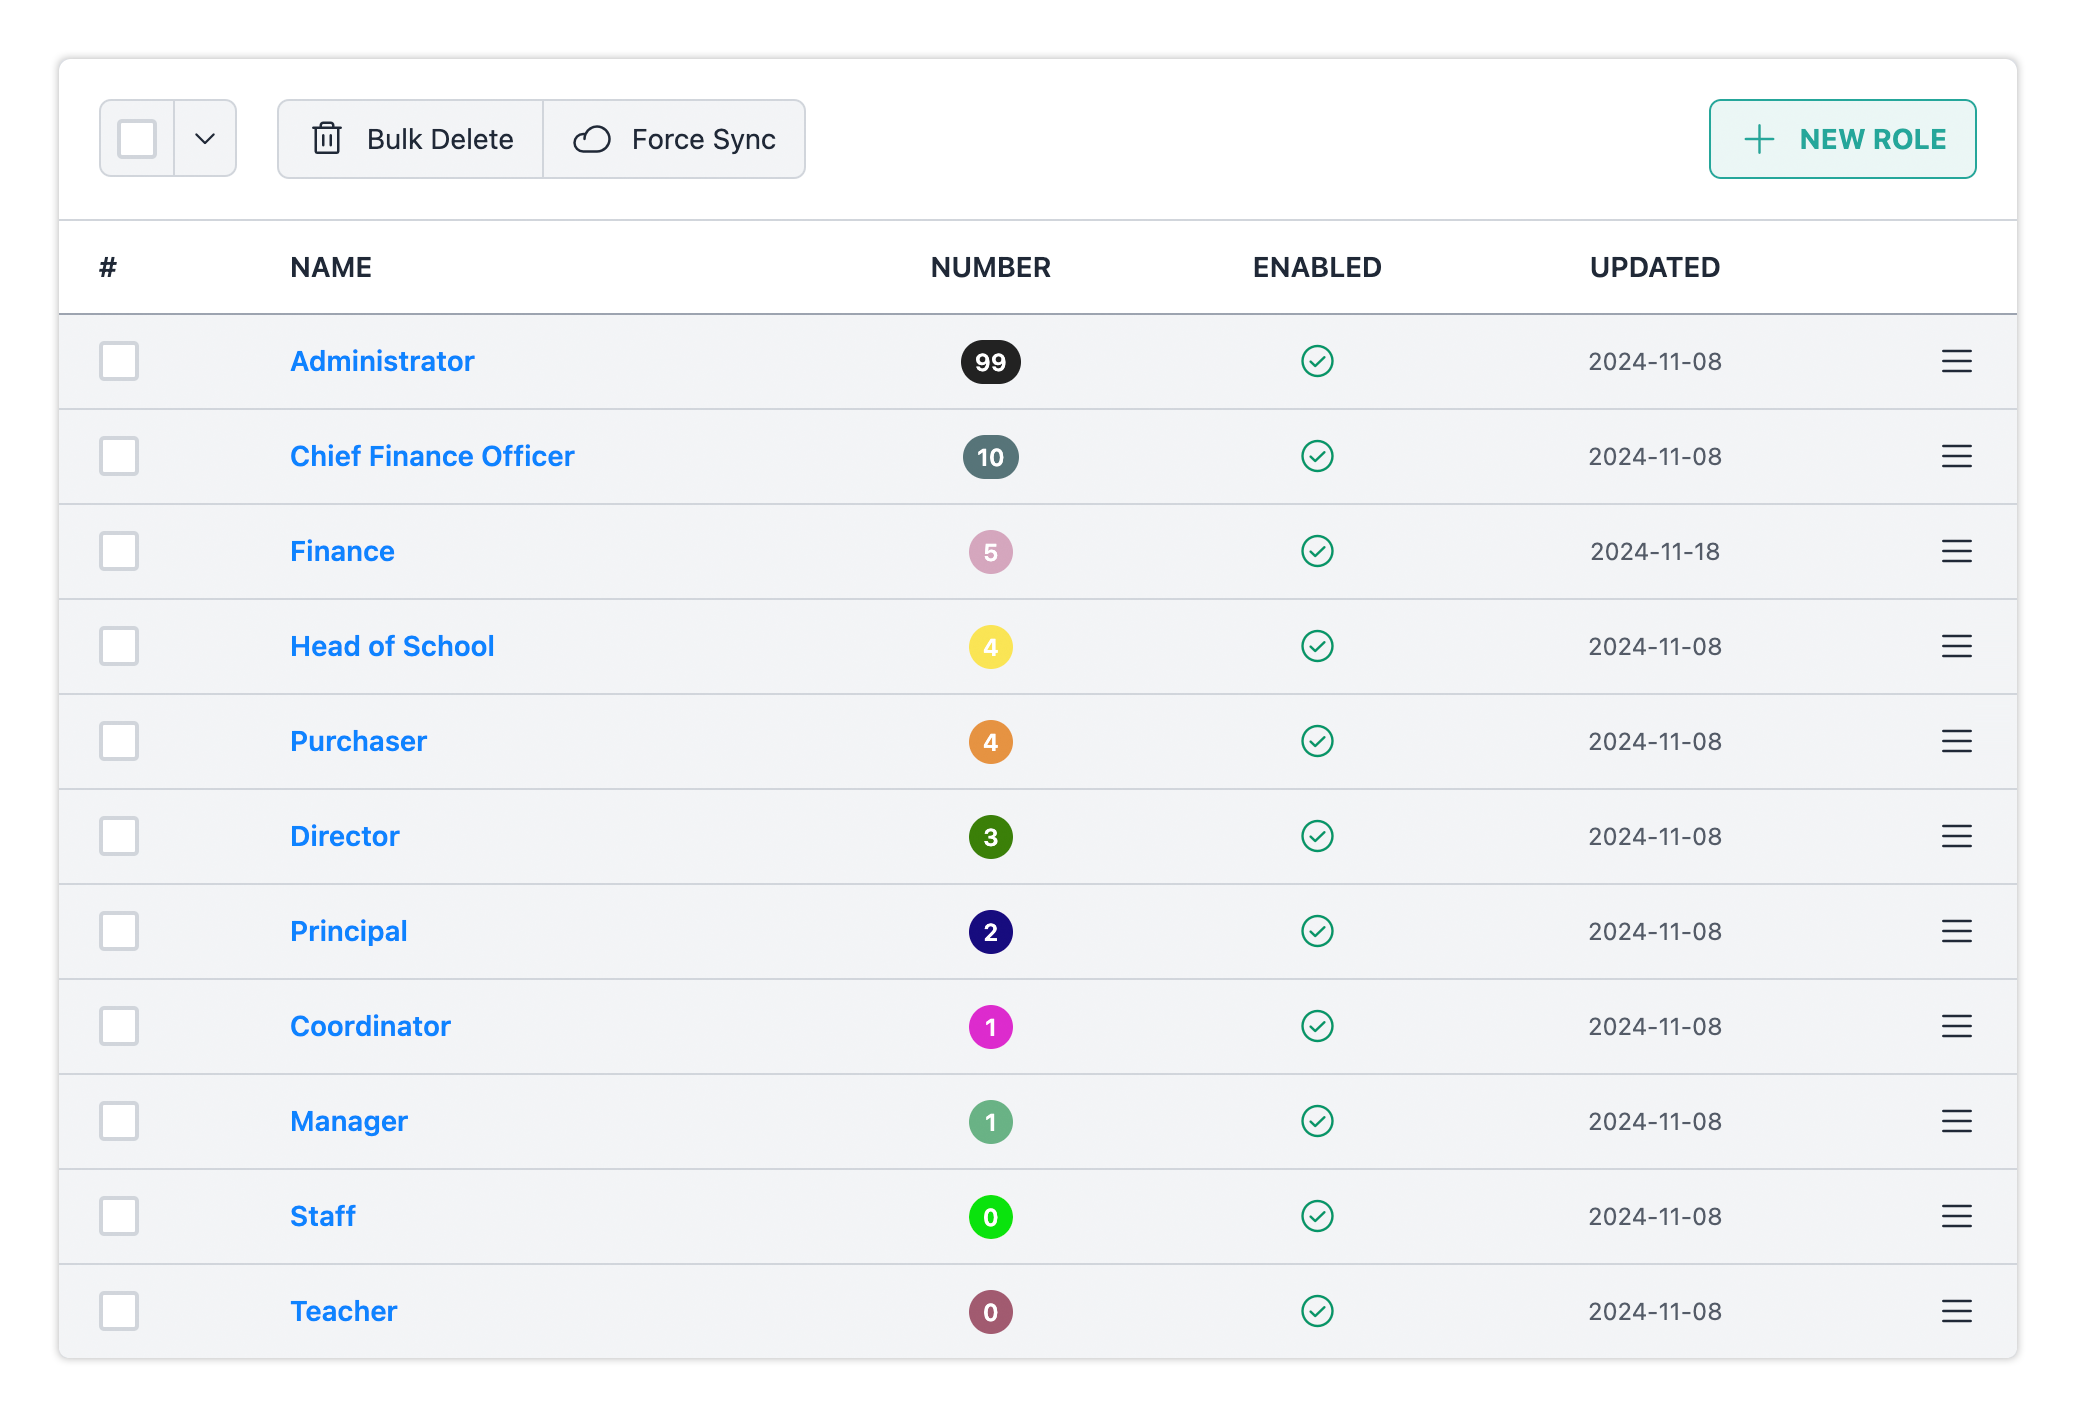
- User Role - Establishes different levels of access and permissions for various users, ensuring that each role (e.g., administrator, teacher, student) has appropriate access to relevant features and data.
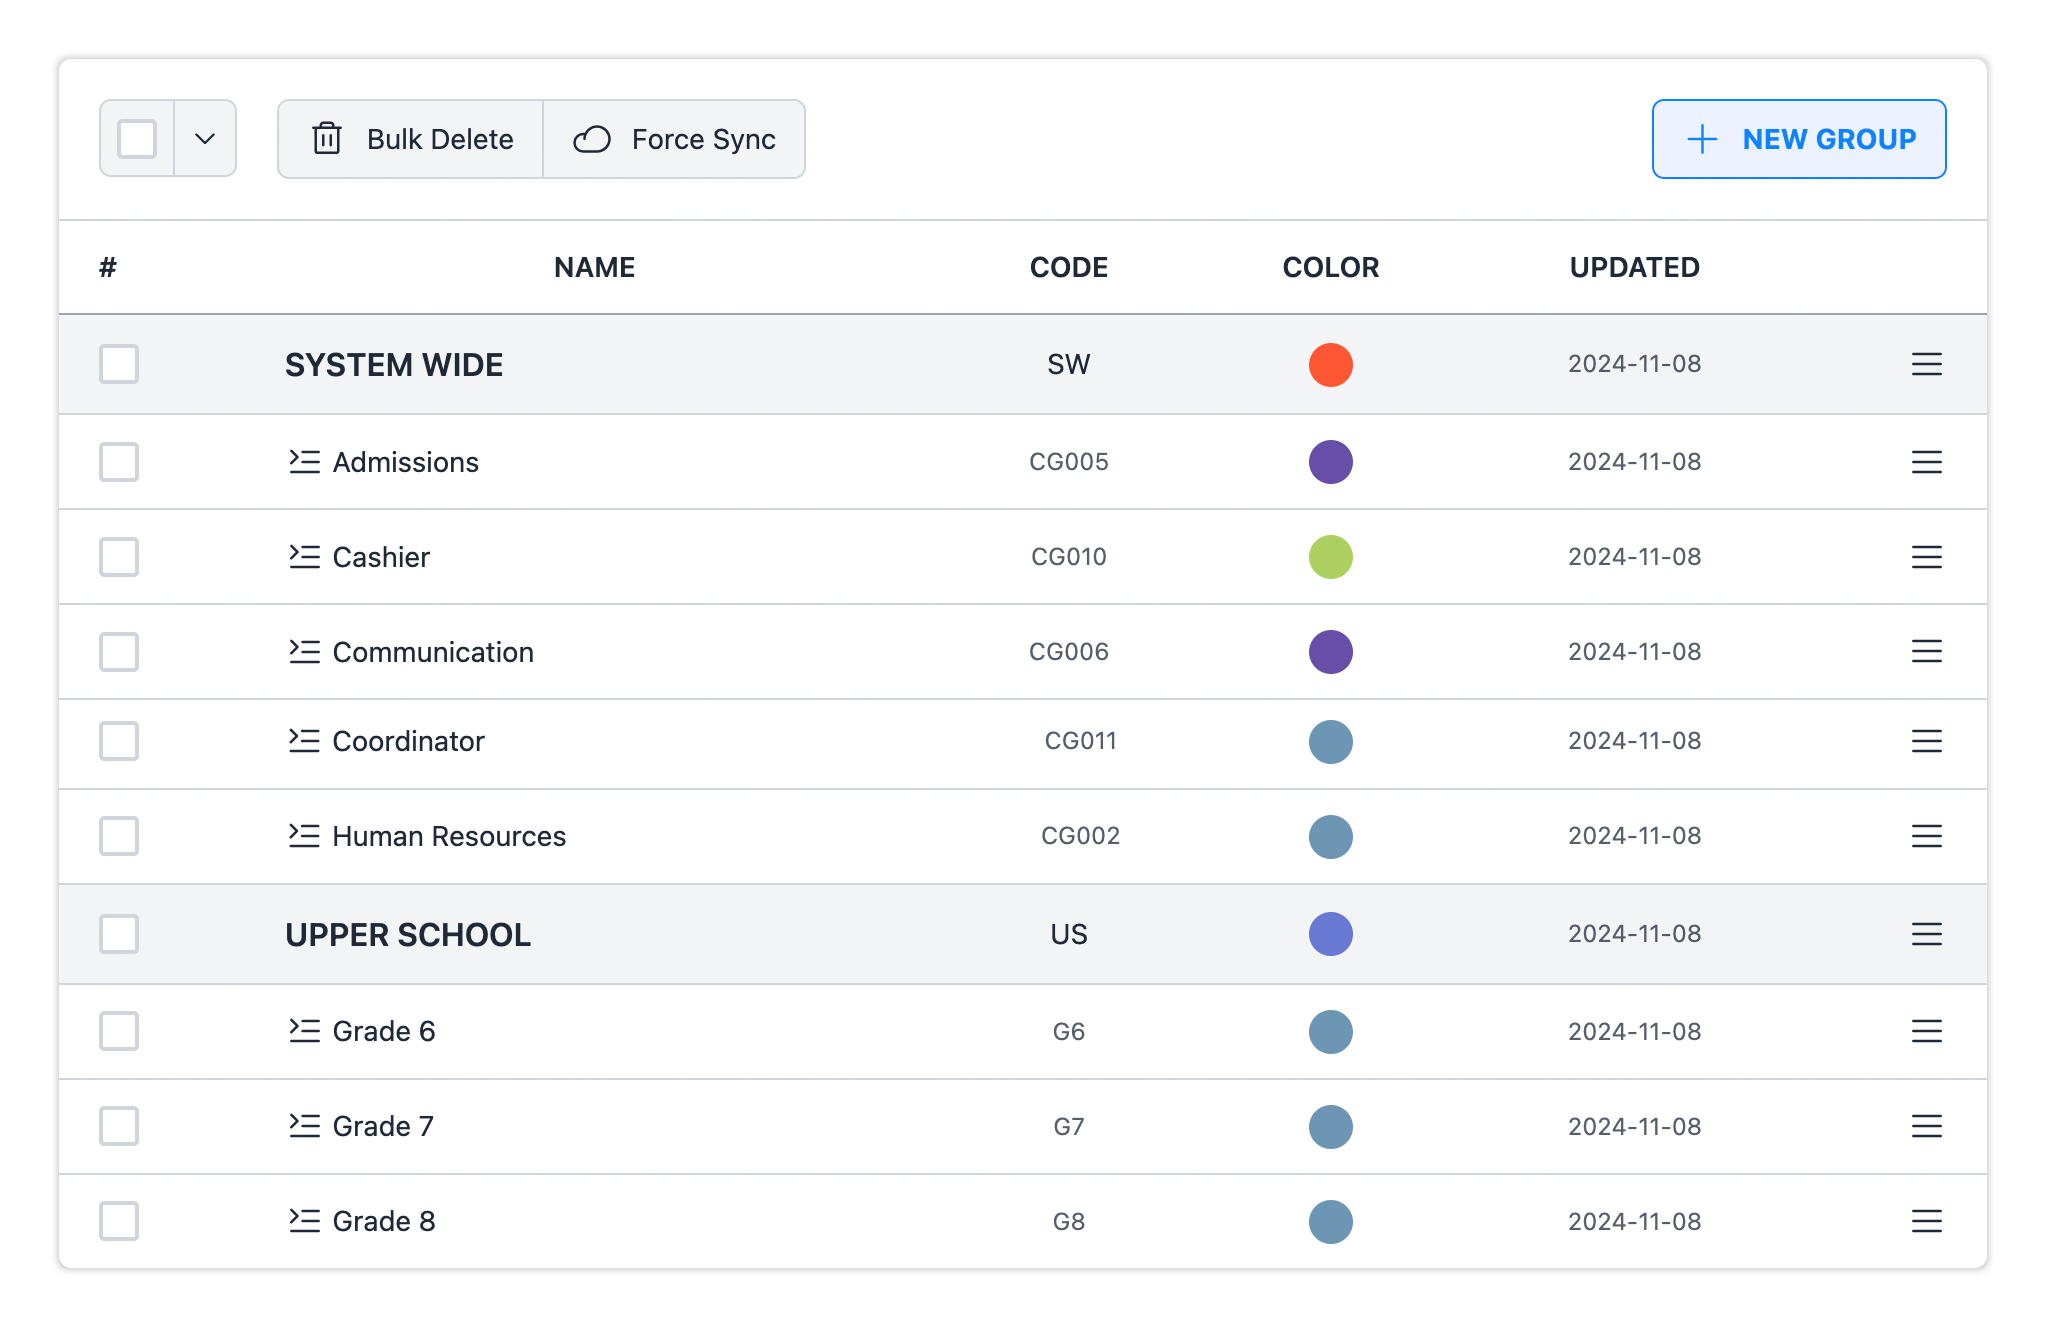
- User Group - Allows for categorizing users into specific groups (such as departments or classes) to streamline communication and manage group-specific activities within the system.
Instance Settings
Overall settings for a Scholar OS instance.
How to:
- Log in to your Scholar OS instance.
- Navigate to the Administration section.
- Navigate to the System-wide Settings tab.
- Open Instance Settings
School Year
School Year is a crucial system setting that determines financial records and academic schedules. It acts as a parameter, defining the active fiscal period, budgeting allocations, tuition structures, and billing cycles for the entire institution.
How to:
- Log in to your Scholar OS instance.
- Navigate to the Administration section.
- Switch to the System-wide Settings tab.
- Open School Years underneath the Years & Terms section.
School / Campus
Scholar OS organizes student and family information by school divisions, such as Lower School and Upper School, enabling streamlined management of enrollments, tuition, and billing. This structure helps schools easily track financial reports across divisions.
How to:
- Log in to your Scholar OS instance.
- Navigate to the Administration section.
- Switch to the System-wide Settings tab.
- Open Schools
Nationality
Scholar OS organizes student and family information by school divisions, such as Lower School and Upper School, enabling streamlined management of enrollments, tuition, and billing. This structure helps schools easily track financial reports across divisions.
How to:
- Log in to your Scholar OS instance.
- Navigate to the Administration section.
- Switch to the System-wide Settings tab.
- Open Nationality
Properties
- Name
Code- Type
- select
- Description
ISO 3166-1 standard Alpha-3 code.
- Name
Name- Type
- typo
- Description
Customizable name of nationality. You can customize it for special cases.
Currency
- Log in to your Scholar OS instance.
- Navigate to the Administration section.
- Open Currency
User Role
By creating user roles, you can group people from different user groups together to collaborate on a specific task or assign them different levels of authority through roles. For example, an employee may require approval from their supervisor for reimbursements, even though they might belong to different user groups.
- Log in to your Scholar OS instance.
- Navigate to the Administration section.
- Switch to the User Management tab.
- Open Role
User Group
User roles in Scholar OS are fundamental for establishing clear permissions and access control for users across the platform. User roles help define what each individual can see, access, and manage based on their responsibilities within the institution.
- Log in to your Scholar OS instance.
- Navigate to the Administration section.
- Switch to the User Management tab.
- Open Group
